Real Case Implementation
Environment Setup
The USM environment configuration requires compiling a patched Linux kernel included in this repository. This step is mandatory to enable the necessary functionalities for USM operation.
Setting up USM requires building a custom patched Linux kernel and components from source. The process involves cloning the flusm repository, installing build dependencies with critical attention to ensuring dwarves version ≤ 1.22, and compiling the provided kernel source, which represents the most time-consuming step of the installation process.
After installation, you must configure GRUB to reserve 2GB memory for CMA, disable system swap since USM handles its own swapping mechanism, and reboot into the new kernel. Finally, build the userspace API and kernel module, then load the USM module to complete the setup.
First Allocation Policy
The implementation focuses on creating a custom first-fit memory allocation policy in USM. The process involves four key steps: defining a policy structure with comprehensive page management using linked lists to track free and used pages.
Environment Verification
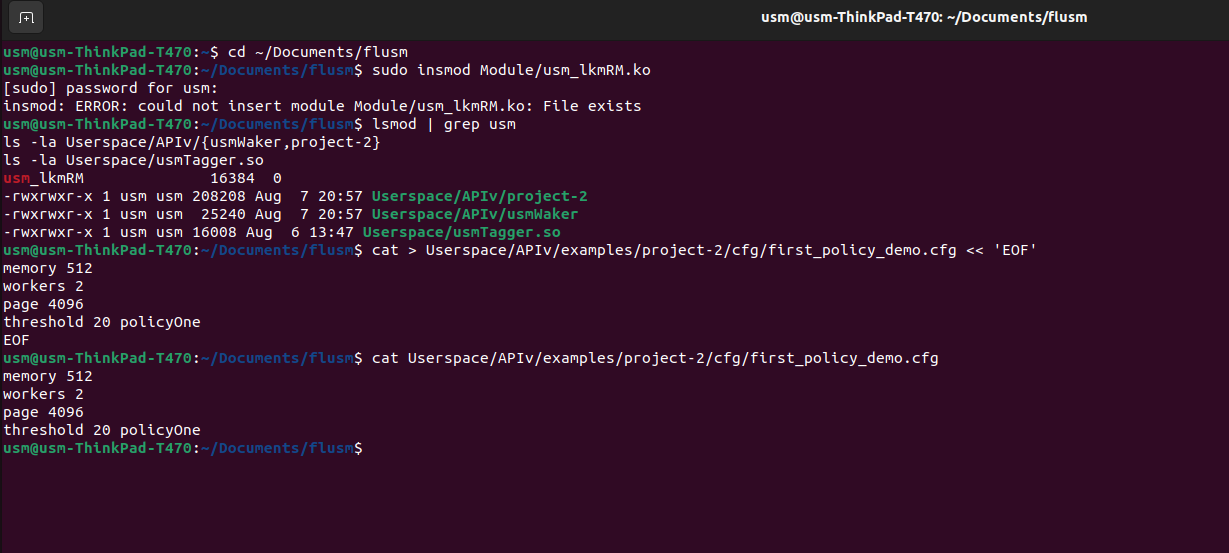 Verification of the USM environment
USM Waker Loading Process
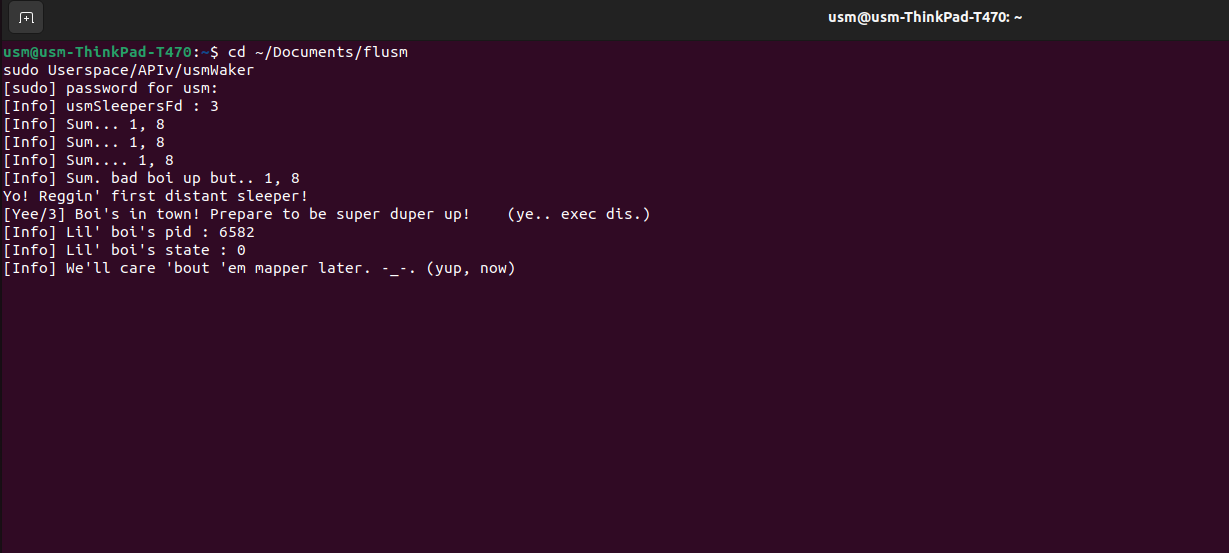 Loading of usmWaker component
Project Execution
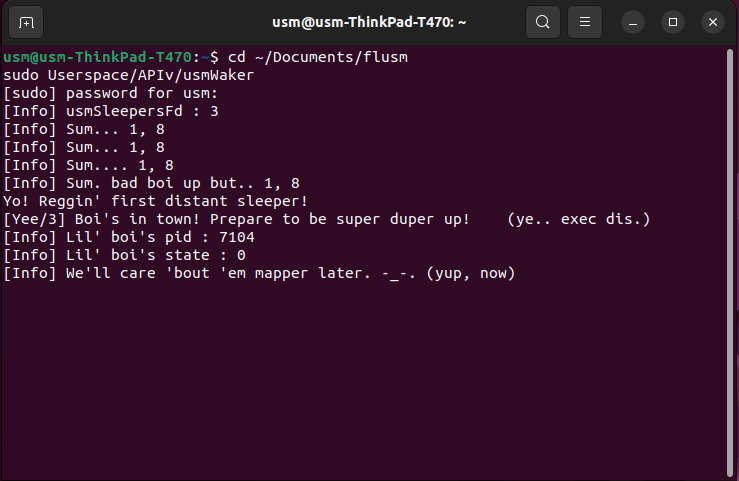
 Running the project configuration
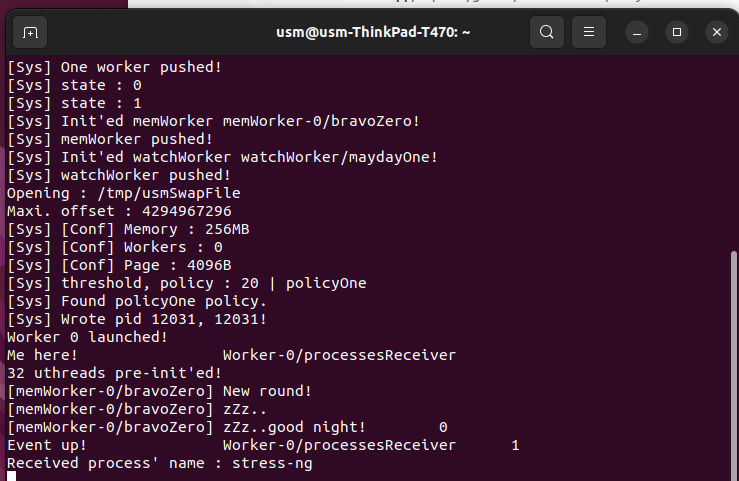
 Execution of the target application
First Eviction Policy
USM eviction policies handle memory pressure by swapping less-used pages to disk when free memory runs out. This mechanism ensures optimal memory utilization under resource constraints.
Memory Pressure Testing
 Launch of project-2 with eviction configuration
System Monitoring
 Start of usmWaker monitoring system
 USM eviction test system monitoring
Automated Dependency Installation
The system automatically handles the installation of stress-ng and its required dependencies for comprehensive memory pressure testing scenarios.