Your First Allocation Policy
A step-by-step guide to writing, registering, and running a basic "first-fit" memory allocation policy with USM.
This guide will walk you through the complete lifecycle of a USM policy. We will analyze the basic "first-fit" allocator provided in the examples (policiesSet1.c), understand how it works, and learn how to compile and run it with a test application.
Step 1: The Anatomy of a Policy
At its heart, a USM allocation policy is a C source file that defines three key things: a page management structure, the policy logic, and a registration mechanism. Let's look at policiesSet1.c.
Page Management
The policy needs a way to track which pages are free and which are in use. This is typically done with linked lists.
// A custom struct to wrap USM's page and add list pointers.
struct optEludeList {
    struct page * usmPage;
    struct list_head iulist; // For the policy's global free/used lists
    struct list_head proclist; // List of processes using this page
};

// Global lists to track page status.
extern struct list_head freeList;
extern struct list_head usedList;

// Locks for the lists.
extern pthread_mutex_t policiesSet1Ulock;
extern pthread_mutex_t policiesSet1Flock;
The Policy Interface (usm_alloc_policy_ops)
You expose your logic to USM by populating a usm_alloc_policy_ops struct. This acts as the interface between the USM framework and your code.
struct usm_alloc_policy_ops alloc_policy_one = {
    .usm_alloc = basic_alloc_uniq,      // Your main allocation function
    .usm_pindex_free = pindex_free,     // Your page free function
    .usm_free = basic_free              // A general free function (optional)
};
Step 2: Implementing the Policy Logic
The usm_alloc function is where your core logic resides. It's called every time a managed application triggers a page fault. Here is a commented version of basic_alloc_uniq:
static inline int basic_alloc_uniq(struct usm_event *event) {
  int res = 0;
  // Lock to protect the shared free list from other worker threads.
  pthread_mutex_lock(&policiesSet1Flock);

  if (unlikely(list_empty(&freeList))) {
      pthread_mutex_unlock(&policiesSet1Flock);
      return 1; // Signal failure (Out of Memory)
  }

  // Get the first available page from our free list (First-Fit).
  struct optEludeList *freeListNode =
      list_first_entry(&freeList, struct optEludeList, iulist);

  // "Reserve" the page by removing it from the free list.
  list_del(&(freeListNode->iulist));
  pthread_mutex_unlock(&policiesSet1Flock);

  // This is the decision: tell USM the physical address of our chosen page.
  event->paddr = freeListNode->usmPage->physicalAddress;

  // Submit the decision to the kernel module to perform the mapping.
  if (usmSubmitAllocEvent(event)) {
    // If submission fails, we must roll back our change.
    pthread_mutex_lock(&policiesSet1Flock);
    list_add(&(freeListNode->iulist), &freeList);
    pthread_mutex_unlock(&policiesSet1Flock);
    return 1; // Signal failure
  }

  // On success, update USM's metadata and move the page to our used list.
  usmLinkPage(freeListNode->usmPage, event);
  pthread_mutex_lock(&policiesSet1Ulock);
  list_add_tail(&(freeListNode->iulist), &usedList);
  pthread_mutex_unlock(&policiesSet1Ulock);

  return 0; // Signal success
}
Step 3: Registering the Policy
The InstanceUSM needs to know about your policy at startup. You do this in a _setup function.
int policiesSet1_setup(unsigned int pagesNumber) {
  // ... code to initialize the freeList ...

  // Register our policy with USM, giving it a name and setting it as the default.
  if (usm_register_alloc_policy(&alloc_policy_one, "policyOne", true))
    return 1;

  // ... register other policies ...

  return 0;
}

// Point the global dev_usm_ops to our setup function.
// This is the main entry point for the InstanceUSM.
struct usm_ops dev_usm_ops = {
  .usm_setup = policiesSet1_setup,
  // .usm_free = ...
};
Step 4: Configuration and Launch
With the policy coded, the final steps are configuration and execution.
-
Configure Policy Assignment: Edit the configuration file to assign your policy to a specific application.
memory 32768 workers 2 # Assign any process named 'stressapptest' to use 'policyOne' process stressapptest policyOne -
Compile: Navigate to the
APIvdirectory and runmake. TheusmTaggeris built in the parentUserspacedirectory.# In the root of the 'flusm' repository cd Userspace/ make cd APIv/ make -
Launch the System:
Note:
Ensure your custom kernel module is loaded (
sudo insmod Module/usm_lkmRM.ko) before running the userspace components.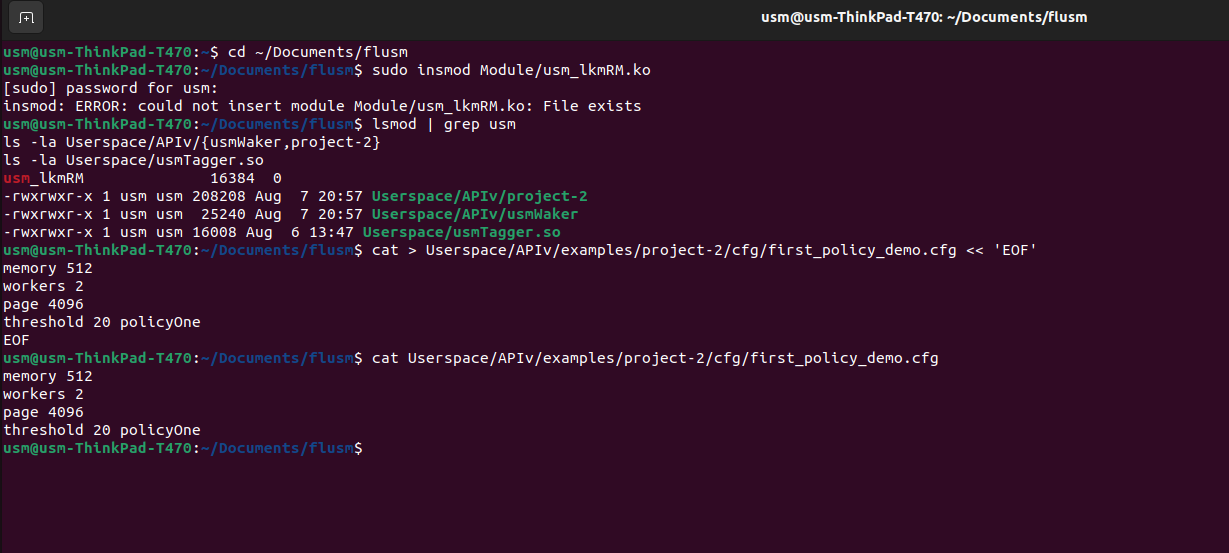 Verification of the USM environment
Open three separate terminals from the repository root (
flusm/):# Terminal 1: Start the Manager sudo Userspace/APIv/usmWaker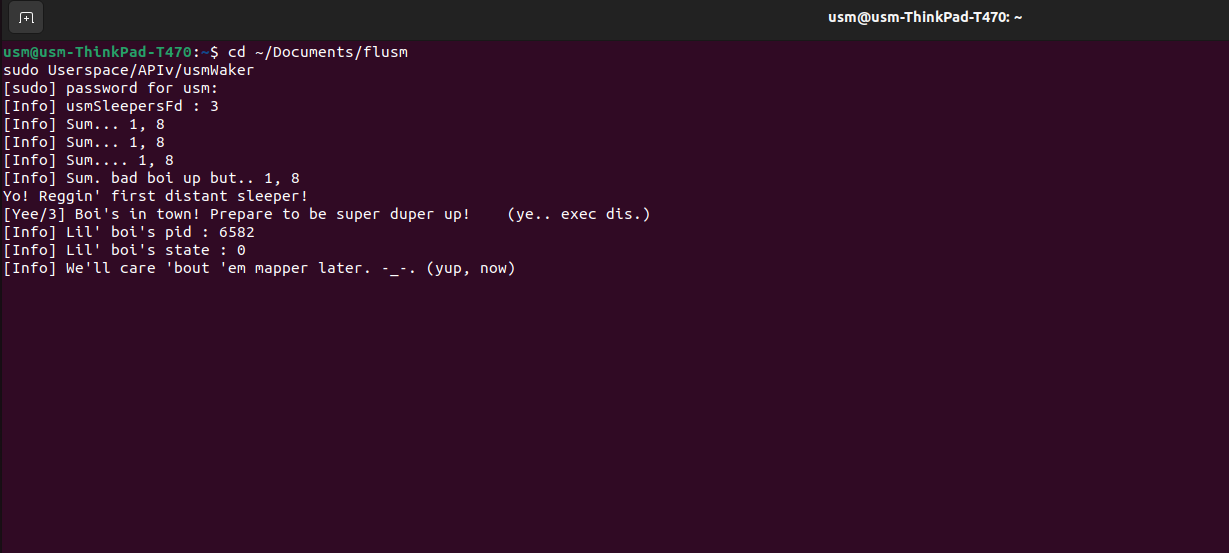 Loading of usmWaker component
# Terminal 2: Start the InstanceUSM with your config file
sudo Userspace/APIv/project-2 Userspace/APIv/examples/project-2/cfg/alloc_policy_assignment_strategy.cfg
Running the project configuration
# Terminal 3: Launch the target application with LD_PRELOAD
sudo LD_PRELOAD=./Userspace/usmTagger.so stressapptest --common-option
Execution of the target application
As stressapptest runs and allocates memory, the InstanceUSM will receive page fault events and execute your basic_alloc_uniq function to serve them. Congratulations, you've just replaced a core part of the Linux Memory Manager!